If your chainsaw isn’t starting, there’s a good chance the ignition coil is fried. In this article, we’ll show you how to test a chainsaw ignition coil with a multimeter. This is an inexpensive and easy way to determine if your chainsaw needs to be serviced.
Testing a chainsaw ignition coil with a multimeter is a simple process that can be done in just a few minutes. You can check the ignition switch by following these simple instructions.
Table of Contents
What you’ll need
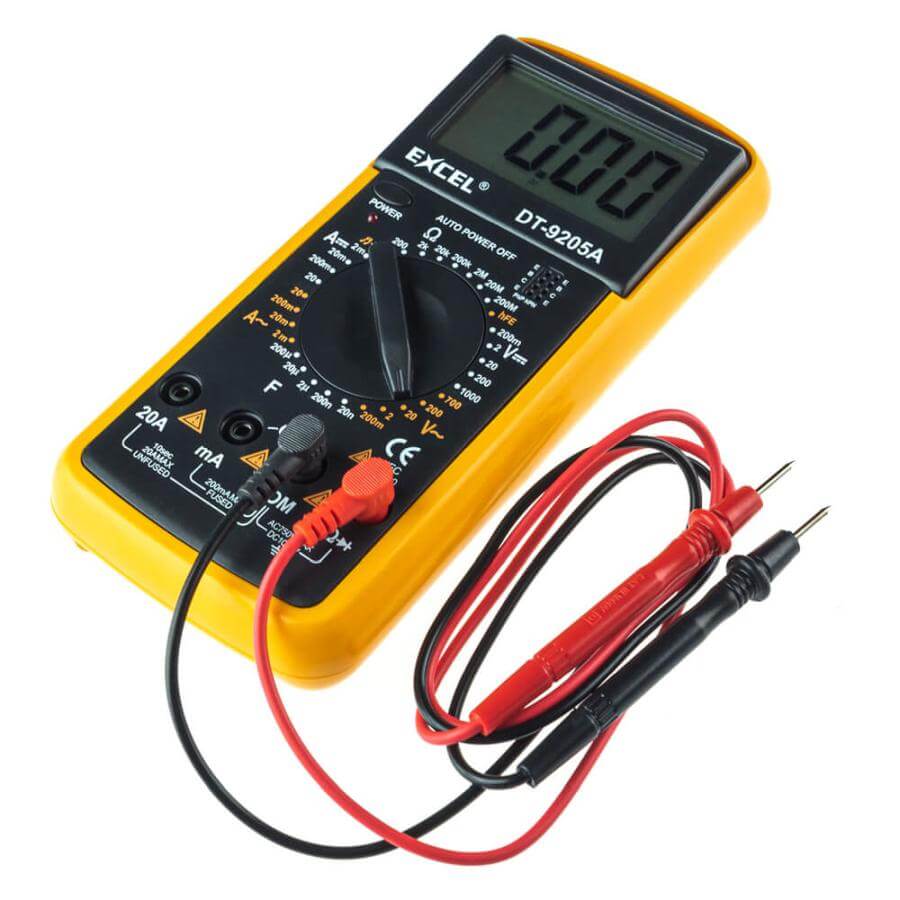
When it comes to chainsaw ignition coils, there are a few things you’ll need in order to test them with a multimeter. You’ll need the ignition coil itself, as well as the multimeter. Once you have those two items, you can begin the testing process.
The first thing you’ll want to do is identify which terminals on the ignition coil are for the primary and secondary windings.
Once you’ve identified those terminals, set your multimeter to resistance mode and measure the resistance between the two terminals. If there is no continuity between the two terminals, then the ignition coil is bad and needs to be replaced.
There are two connections between each wire, so determine its resistance to Ohms mode and then measure the resistance between each coil.
How To Test A Chainsaw Ignition Coil Safe And Easily With A Multimeter

Step 1: Remove the ignition coil cover
The first step is removing the ignition coil cover. Once it’s gone, you can verify the continuity status of the ignition coil. If it’s continuous, the ignition coil is working, so you can proceed to the next action.
Step 2: Disconnect the ignition coil wire from the spark plug
The connecting wire on a chainsaw’s spark plug connects to the ignition coil. It is essential to check for continuity before beginning the chainsaw’s ignition coil. To do this, disconnect the spark plug wire from the ignition coil and use a multimeter to test the wire for continuity.
Next, set the device to continuity. Stick one prong on each end of the ignition coil wire. When one prong probes for continuity, the wire is fine; otherwise, it must be replaced.
You might read the article on the best oil for chainsaws.
Step 3: Unscrew the ignition coil retaining screws
In order to unscrew the ignition coil retaining screws, you will need a Phillips head screwdriver. Place the screwdriver in the recess located on top of the screws and turn counterclockwise.
You may need to apply force to loosen them. Once they are loose, you can manually remove them.
Step 4: Remove the ignition coil
The coil is part of the ignition system that pushes up a little chainsaw. When it’s bad, the engine will not start. You can use a multimeter to test the coil to see whether it is going bad.
Step 5: Connect the red probe of the multimeter to the positive (+) terminal of the ignition coil
The part of the chainsaw engine that is responsible for the activation of the machine is known as the ignition coil. The ignition coil converts the low voltage from the battery into the high voltage needed to start the chainsaw.
A multimeter can be used to test the ignition coil to see if it functions properly. The red probe should be connected to the plus (+) terminal.
Step 6: Connect the black probe of the multimeter to the negative (-) terminal of the ignition coil
It’s a simple process to test the ignition coil of a chainsaw using a multimeter due to the quick nature of the connection. To begin testing the ignition coil, you’ll need to connect the multimeter’s dash probe to the negative (-) terminal. Once you have connected the probe, turn on the meter and wait for an indication to appear. If there is no reading, you will have to start all over.
Step 7: Turn on the multimeter and set it to “Ohms” or “Resistance”
To test a chainsaw ignition coil with a multimeter, you will set the multimeter to both “Ohms” and “Resistance.” First, remove the spark plug wire from the spark plug and the ground wire. Then, connect the red lead of the multimeter to the wire and the black lead to the ground. Finally, turn on the multimeter and set it to “Ohms” or “Resistance.”[1]
Step 8: Hold down the trigger of the chainsaw and check for resistance
Anyone who’s ever used a chainsaw knows that it is a dangerous tool. With the potential to cause serious injury, it is important to take the necessary precautions when using this piece of equipment. One step that should always be taken is to check the ignition coil. In order to do this, a multimeter can be used.
How do I know if my chainsaw coil is bad?
Knowing whether or not your chainsaw ignition coil is bad can save you time and money. Here’s how to test it with a multimeter:
1. Remove the spark plug wire from the spark plug.
2. Disconnect the negative battery cable.
3. Connect the red lead from the multimeter to one of the spark plug terminals, and connect the black lead to the ground.
4. Start the engine and let it idle until it reaches operating temperature (around 400 degrees F).
5. Check voltage at each spark plug terminal with the multimeter, recording results in a table or graph.
6. If any of the readings are high (>14 volts), replace your chainsaw ignition coil immediately!
How many ohms should a chainsaw coil have?
When it comes to chainsaw coils, there is no one set answer. That said, most experts agree that a chainsaw coil should have at least 0.4 – 2 ohms of resistance.
This is based on the theory that a high enough resistance will help to prevent sparks from flying out of the chain and into your hands and eyes.
However, it’s always best to check your chainsaw’s owner’s manual for specific instructions on how many ohms of resistance your specific model requires.
How can you tell if a coil is 6 volt or 12 volts?
If you have a coil that is not labeled as either 6 volt or 12 volt, it is difficult to determine which voltage it is. You can test the coil by using an ohmmeter to check for resistance. If the coil has a resistance of less than 1/8 of a ohm, then it is most likely 6 volt. If the coil has a resistance of more than 1/8 of a ohm, then it is most likely 12 volt.
How do you check a coil on a Husqvarna chainsaw?
When you are checking the chain on your Husqvarna chainsaw, it is important to make sure that the chain is properly lubricated and that the coil is in good condition. To do this, follow these simple steps:
1. Remove the spark plug from the engine.
2. Inspect the tip of the chain for wear and tear. If there is excessive wear or damage, replace the chain with a new one.
3. Lubricate all moving parts of the engine with a quality oil and replace any worn or damaged parts using new gaskets and screws as needed.
4. Check that all screws are tight by turning them slightly with a wrench. If they are not tight, tighten them using a screwdriver until they are snug.
5. If the unit is not working properly, check the panel connections.
Conclusion
Testing a chainsaw ignition coil with a multimeter is a simple process that can help you determine if it needs to be replaced.
By following these steps, you can ensure that your chainsaw is in good working condition and ready to cut through whatever you need it to.
You also read our article on How Tight Should The Chain Be On A Chainsaw.

